
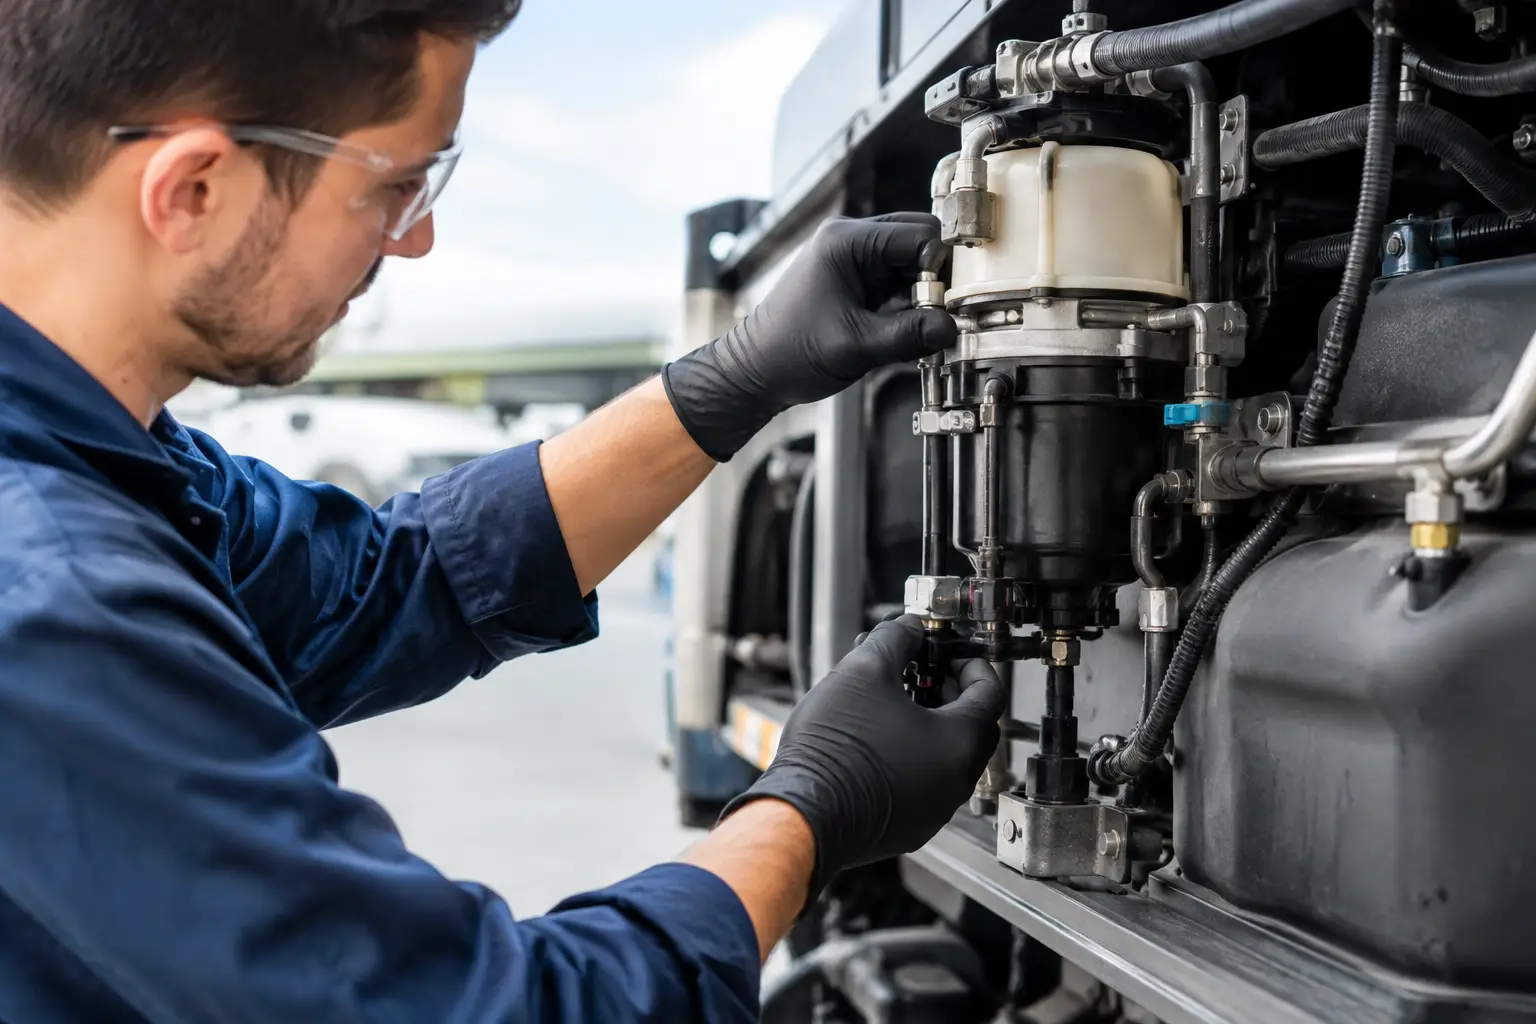
How to Inspect Fuel Pump Systems Before Failure
A diesel that cranks longer each morning, falls flat under load, or develops an unexplained fuel leak is not asking for guesswork. When operators ask how to inspect fuel pump condition, the right answer starts with identifying which part of the fuel system is actually at fault. A restricted filter, air leak, weak lift pump, failed pressure-control valve, worn high-pressure pump, or injector return problem can produce similar symptoms.
A proper inspection follows the fuel path and verifies readings rather than replacing expensive components based on a symptom alone. That approach matters on everything from light-duty pickups to heavy trucks, construction equipment, agricultural machinery, industrial engines, and marine applications, where downtime and contaminated fuel systems carry real costs.
How to Inspect Fuel Pump Condition Safely
Before testing, identify the system. Older mechanical diesel pumps, distributor-style pumps, unit-injector systems, common-rail high-pressure pumps, and electronically controlled rotary pumps do not share the same specifications or failure patterns. The engine model, pump number, and OEM test data determine what pressure, timing, flow, and control values are acceptable.
Safety is not optional. Modern common-rail systems can operate at pressures high enough to inject fuel through skin. Never loosen a high-pressure line with the engine running, and never search for a leak with your hand. Shut the engine down, allow pressure to dissipate according to the manufacturer procedure, wear eye protection, and use proper fittings and rated test equipment. Fuel spray, hot surfaces, rotating belts, and battery voltage all require attention during diagnosis.
Start by recording the complaint. Note whether the problem occurs during cold starts, hot restarts, acceleration, steady load, high RPM, or only after the machine has been running for a period. A pump that cannot build rail pressure may cause a no-start condition. A pump with internal wear may still start and idle normally but lose power when demand rises. Details from the operator often point the inspection in the right direction.
Begin with the fuel supply side
A high-pressure pump cannot compensate for poor inlet supply. Inspect the fuel tank level and condition first, then examine the low-pressure side from tank to pump. Look for damp hoses, loose clamps, cracked fittings, collapsed rubber lines, damaged primer bulbs, and seepage around filter heads or water separators. Small suction-side leaks may pull air without leaving a visible fuel drip.
Check the fuel filter service history and inspect the filter element if removal is appropriate. A restricted filter can imitate pump failure by starving the pump under load. Water, algae growth, rust, dark deposits, or unusual debris in the filter housing indicate a contamination problem that must be addressed before any replacement pump is installed.
If the system has a lift pump or transfer pump, measure supply pressure and, where applicable, volume against the manufacturer specification. Low inlet pressure can cause hard starting, hesitation, low rail pressure, excessive pump noise, and accelerated wear. On suction-fed systems, a vacuum test can help locate restrictions between the tank and inlet. Excessive vacuum may point to a plugged pickup tube, blocked tank vent, restricted line, or plugged filter.
Air must also be ruled out. Clear diagnostic hose can sometimes reveal bubbles on systems where temporary installation is safe and appropriate. Some air movement may be normal depending on the design, but a continuous stream of bubbles or fuel draining back after shutdown requires closer attention to the filter head, seals, return circuits, and line connections.
Inspect the pump externally
With the engine off and the area clean, inspect the pump body, drive area, electrical connectors, metering valves, fuel-temperature sensors, and fittings. Fresh fuel around the pump shaft seal, cover, connector, or high-pressure outlet needs attention. Do not assume every wet area identifies the source, since fuel can travel along lines and collect elsewhere.
Check wiring for rubbed insulation, loose terminals, corrosion, stretched harnesses, and oil or fuel intrusion into connectors. On electronically controlled pumps, a weak power supply, poor ground, or damaged signal circuit can produce a pressure-control fault that looks mechanical. Scan-tool fault codes are useful, but they are direction indicators, not final diagnoses.
If the pump is gear-driven, belt-driven, or timed to the engine, inspect the drive components according to the engine service procedure. A slipped timing event, damaged keyway, worn coupling, or failing drive gear can create poor performance or no-start symptoms even when the pump itself is serviceable. Do not disturb timing marks or remove a pump without the correct locking tools and timing information.
Verify Pressure, Command, and Actual Response
Visual inspection alone cannot confirm pump health. The next step is comparing requested fuel pressure with actual pressure during cranking, idle, and loaded operation. On common-rail engines, a scan tool may show commanded rail pressure, actual rail pressure, fuel metering command, engine speed, and related diagnostic codes. The key question is whether actual pressure follows command quickly and consistently.
If rail pressure is low during cranking, do not immediately condemn the high-pressure pump. First confirm adequate cranking speed, battery voltage, low-pressure supply, fuel quality, and injector return flow. Excessive injector leakage can prevent rail pressure from reaching the threshold needed to start, even with a functional pump. A leaking rail pressure relief valve, stuck pressure regulator, or metering valve can create the same result.
On mechanical systems, testing may involve supply pressure, transfer pressure, pump timing, governor operation, case pressure, and calibrated fuel delivery. These measurements often require special adapters and service data. Improvised gauges or incorrect fittings can damage threads, introduce contamination, or create a safety hazard.
A pressure reading should be interpreted in context. A pump that meets pressure at idle but collapses under load may have internal wear, inadequate inlet flow, a control-valve issue, or restriction in the return system. A pressure reading that spikes excessively may point to a regulating problem rather than a pump capable of delivering healthy volume.
Check for metal and contamination
Fuel contamination changes the repair scope. Inspect drained fuel, filter media, and any accessible inlet screens for water, rust, black debris, or metallic particles. Fine silver-colored metal in a common-rail system is especially serious. It may indicate internal high-pressure pump failure, and circulating debris can damage injectors, rails, lines, and control valves.
When metal is confirmed, replacing only the pump is often a false economy. The correct repair may require tank cleaning, line flushing or replacement, filter housing service, rail and injector inspection, and replacement of components that cannot be reliably cleaned. The exact scope depends on the engine manufacturer procedure, the type and amount of debris, and how far contamination has traveled.
When a Fuel Pump Needs Bench Testing
A vehicle-level test can establish that the fuel system has a pressure or delivery problem, but it cannot always isolate internal pump wear or calibration faults. Bench testing is the appropriate next step when external supply, wiring, control signals, timing, injectors, and return flow have been checked but performance remains outside specification.
In a controlled fuel lab, a pump can be checked for delivery volume, pressure, internal leakage, governor or electronic control response, timing behavior, and calibration across specified test points. This is particularly valuable for mechanical and electronically controlled diesel pumps where a pump may appear normal at idle yet fail under the demands of real operation.
Bench testing also establishes whether a pump can be rebuilt reliably or whether replacement is the better option. The decision depends on pump design, parts availability, housing condition, contamination damage, and calibration requirements. A quality rebuild is more than replacing seals. It requires inspection, precision parts, correct assembly, calibration, and verification on the proper equipment.
For complex diesel fuel systems, West Coast Fuel Injection & Turbo Ltd. can diagnose, bench test, calibrate, rebuild, and support installation of pumps and related components across many major OEM applications. Bringing in the pump number, engine serial number, fault codes, and details of the failure helps shorten the diagnostic process.
A clean pressure trace and a good-looking pump exterior do not prove the entire system is healthy. Follow the fuel path, verify the numbers under the conditions where the fault occurs, and stop the repair from becoming a repeat failure before a new or rebuilt component goes back into service.
Comments